|
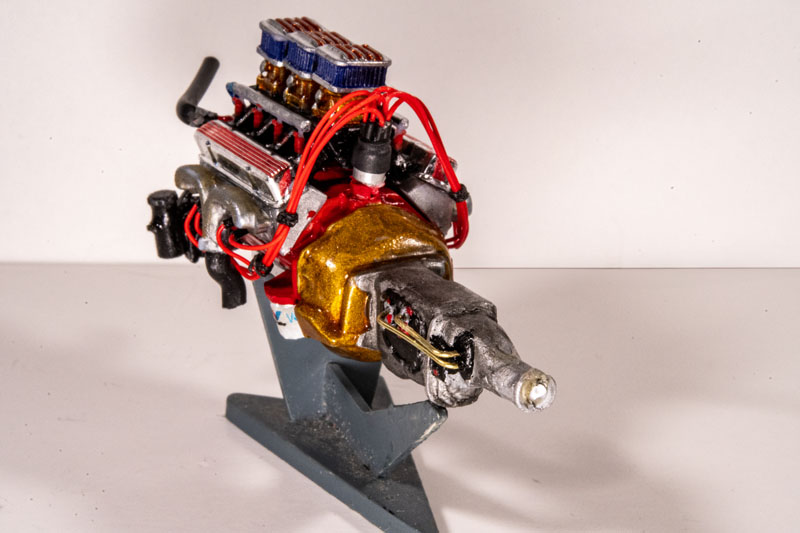
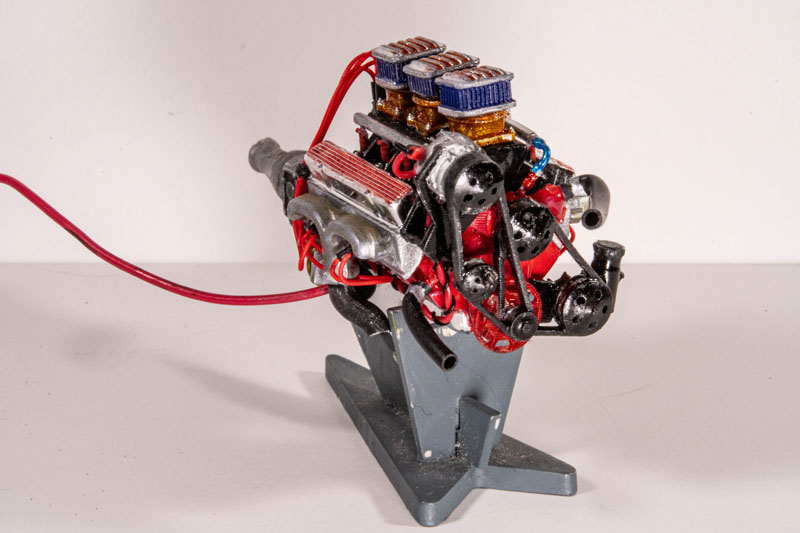
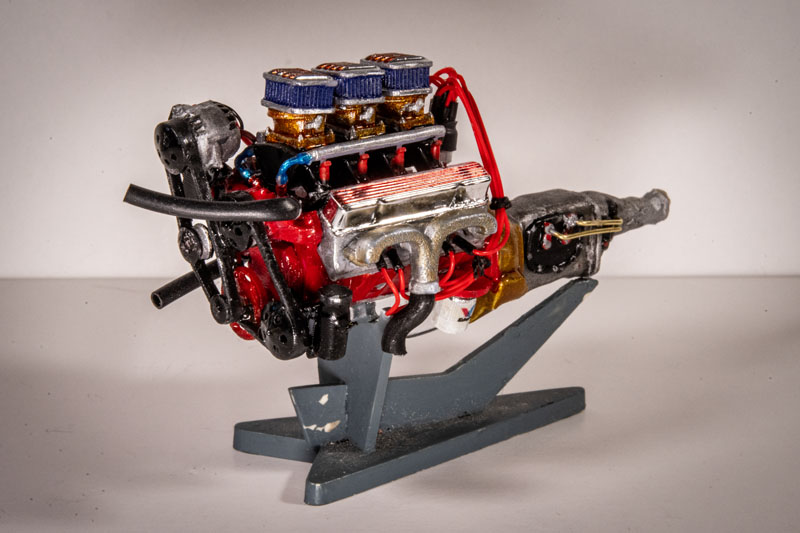
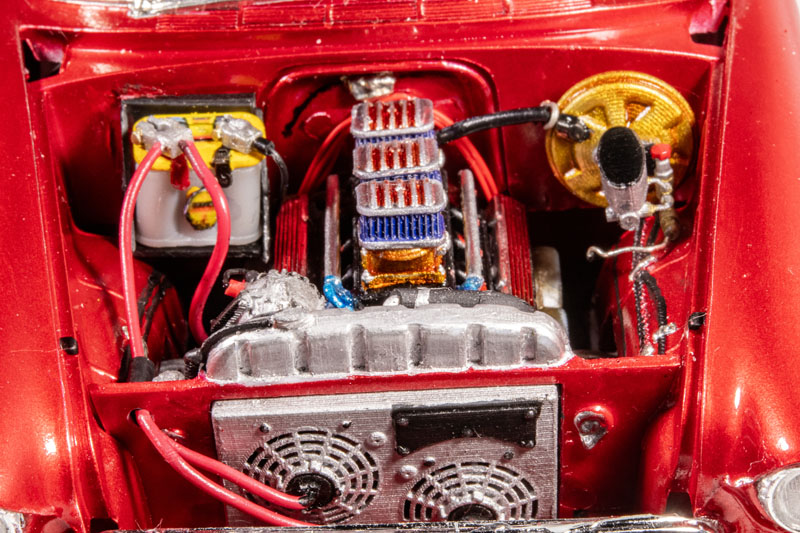
The completed motor looks great, and is ready to drop back into our ’55 Chevy engine compartment. |
 |
| The kits radiator tank was painted aluminum to try and make it a little more ‘modern’ looking. A 3D overflow tank was glued along side it. |
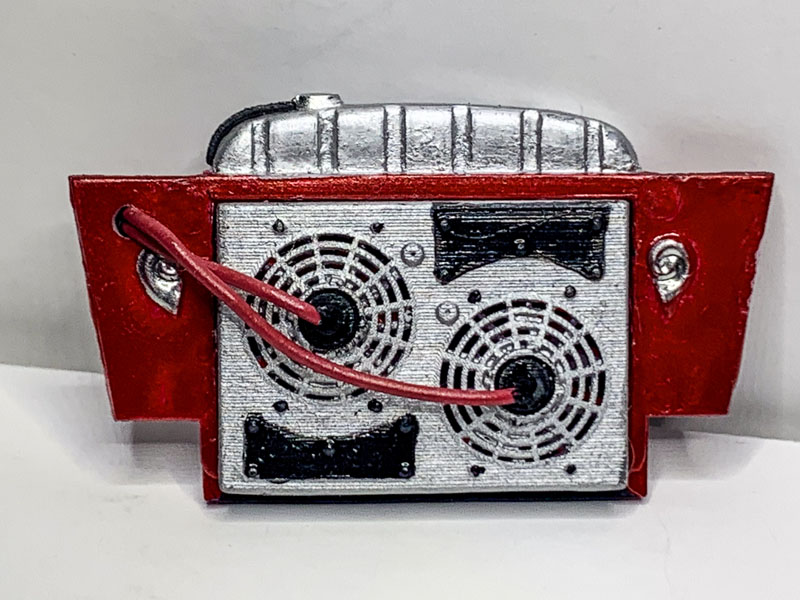 |
| I’m not sure where I got the file to print this 3D twin fan set up, but it’s nice! If you look real close you can see the fans inside. Electric fans have to have heavy red wire to feed them juice. So even though wires might look out of scale, they’re not. |
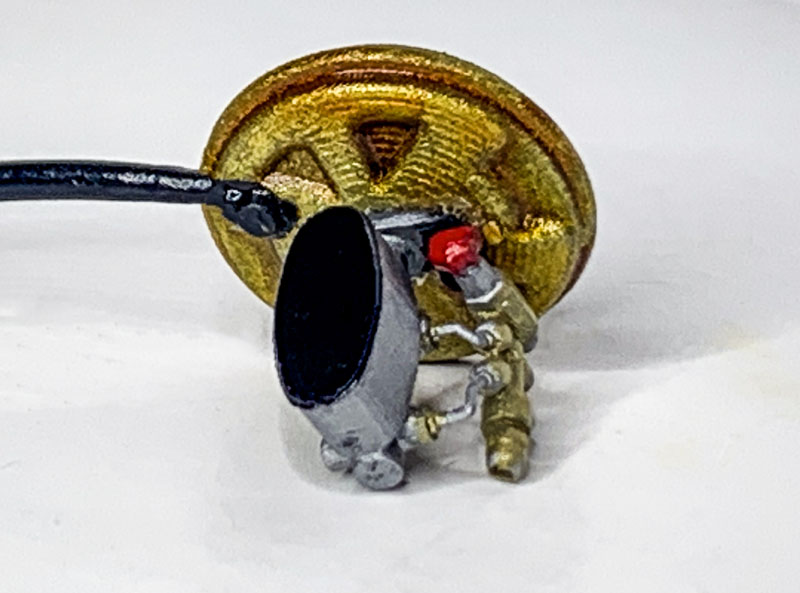 |
| We love this 3D printed brake master cylinder with proportioning valve, brake lines, and power booster. We added a piece of wire insulation for the vacuum line that comes from the motor. |
 |
| A thin piece of aluminum wire wraps around the hose to simulate a clamp (yellow arrow). The metal wire (red arrow) is actually a “touch” switch to turn our LED head/taillights on and off. You only have to touch this wire, no big bulky switch to hide somewhere. |
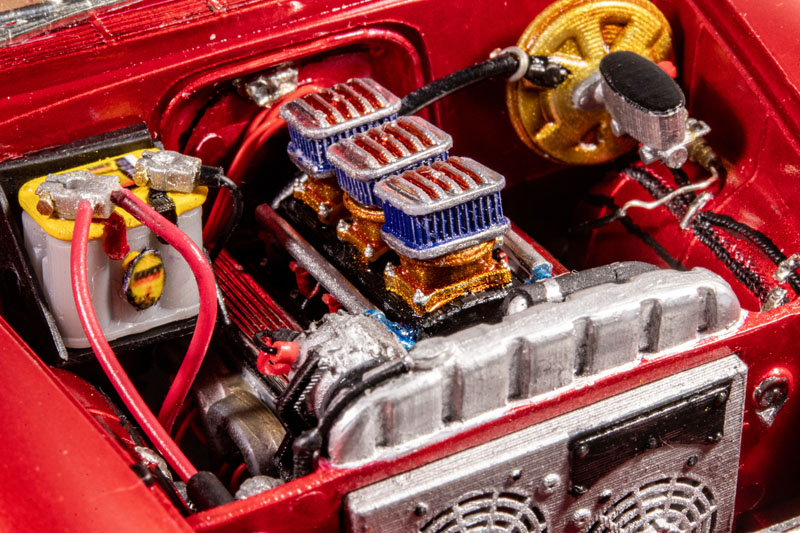 |
| Our old style wet battery was replaced with a new style OPTIMA battery. The battery (and battery clamps) are 3D printed. The two (red) positive cables go to the starter and the other to the electric fans on the radiator. The battery tray was made from sheet plastic. |
 |
 |