 |
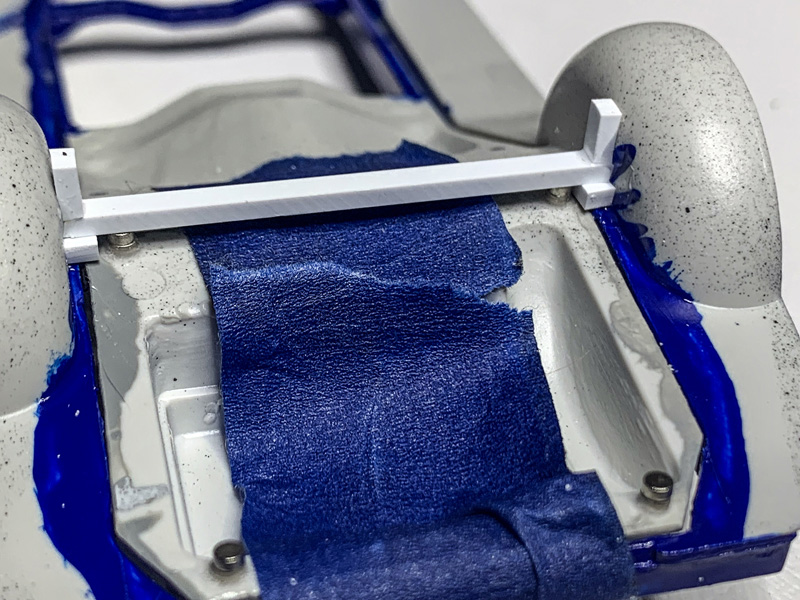
| I added some reinforcement to the fenderwell mount by sliding some plastic strip under the frame, and glue strips above it. I started to the second frame by glueing the plastic strip to the top magnets.... |
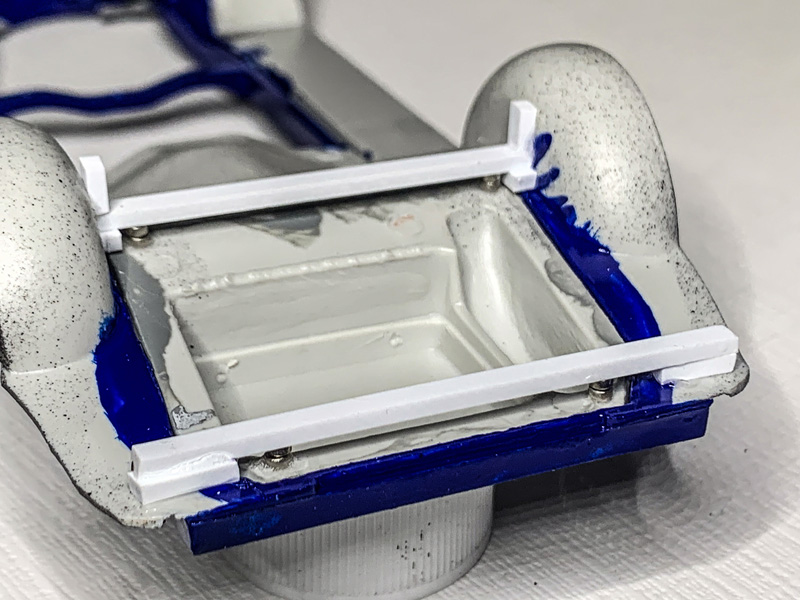 |
| ...and then gluing strips between the floorboard and the plastic strip. |
 |
| It works perfect.... |
 |
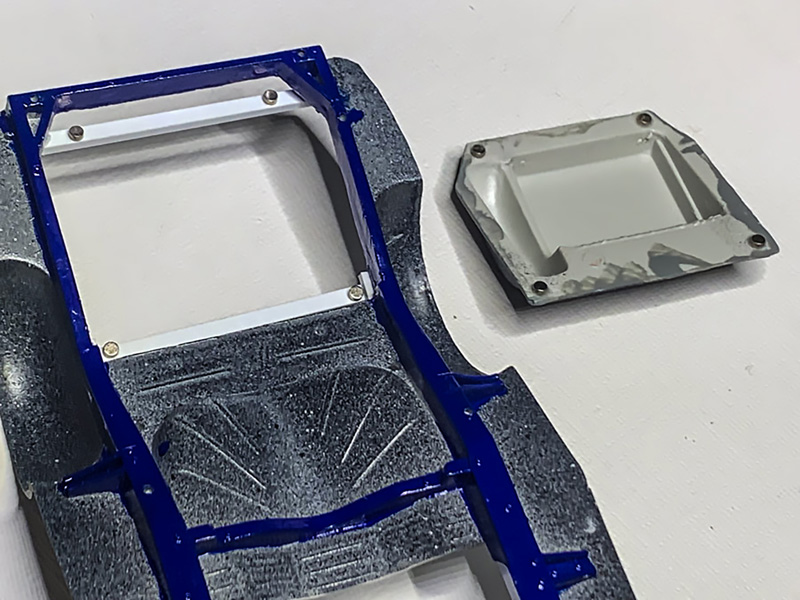
| ...and is hard to detect. |
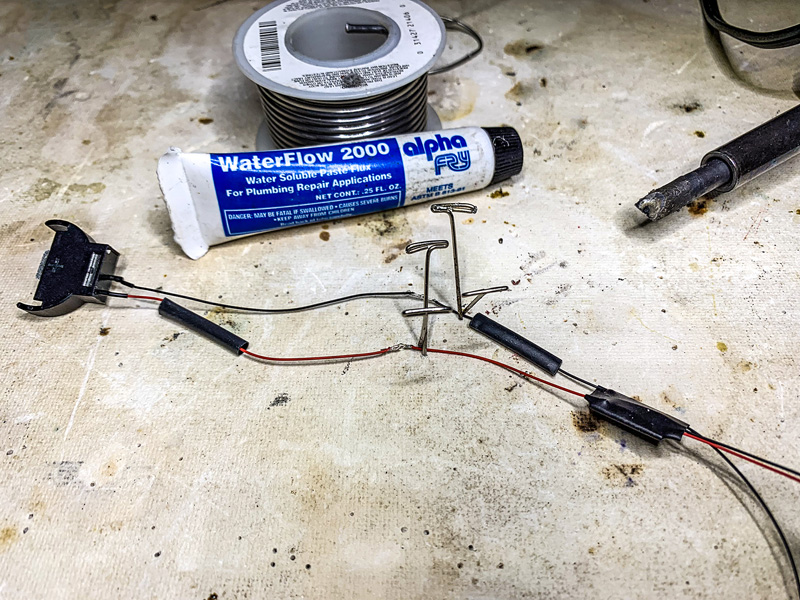 |
| You don't have to solder the wiring, you could twist it together and then use heat shrink tubing and tape. But I reccummend soldering it. |
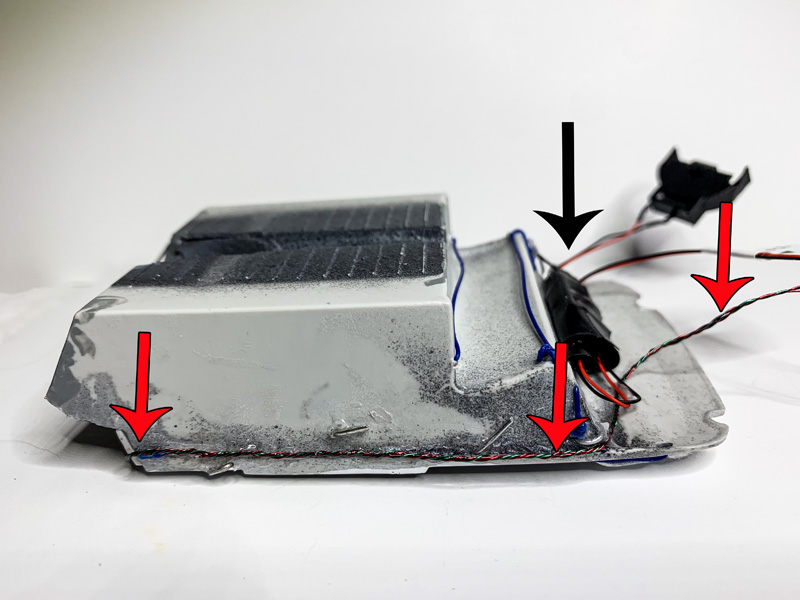 |
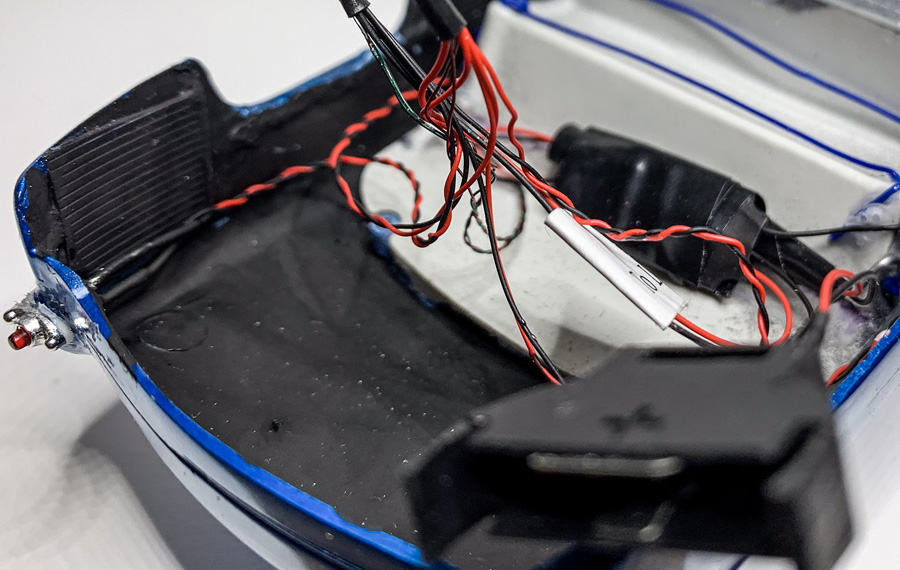
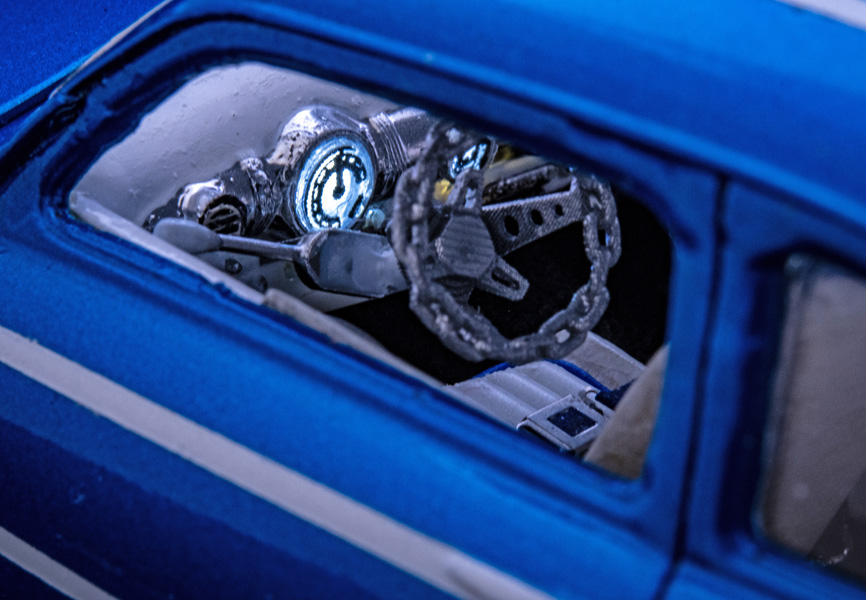
| Here you can see where I glued the circuit board for the on/off wire to the back of the interior tub (black arrow). The red arrows point out the dashboard wiring. |
 |
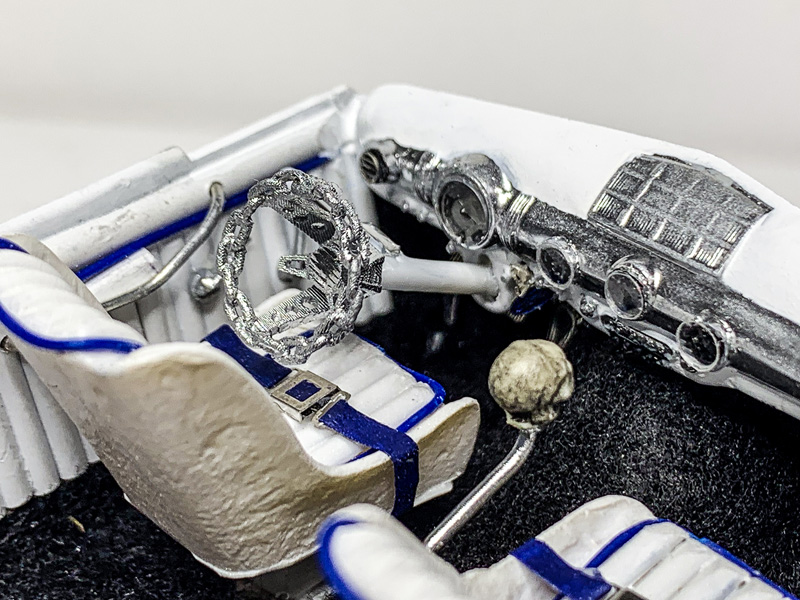
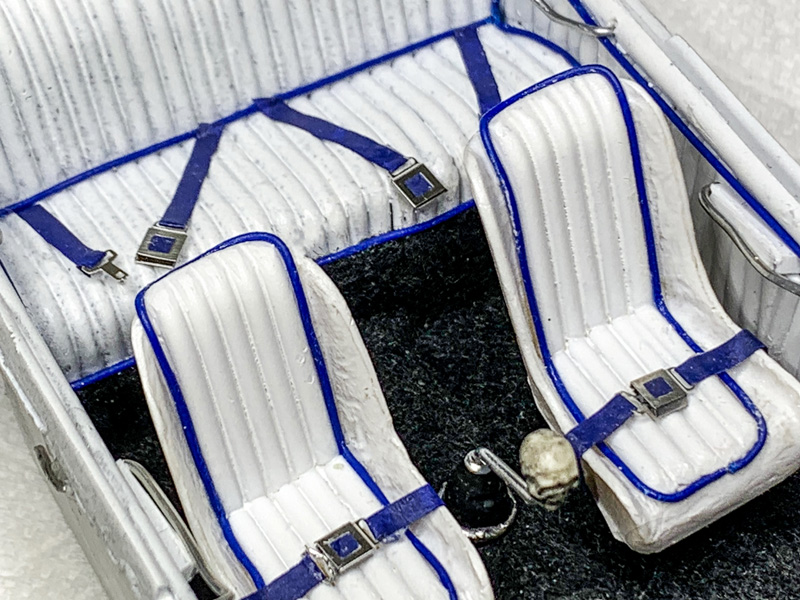
| I wanted the pull cable for the cars emergency brake to be the on/off wire (black arrows) so I glued it around the interior tub to the front of the tub. |
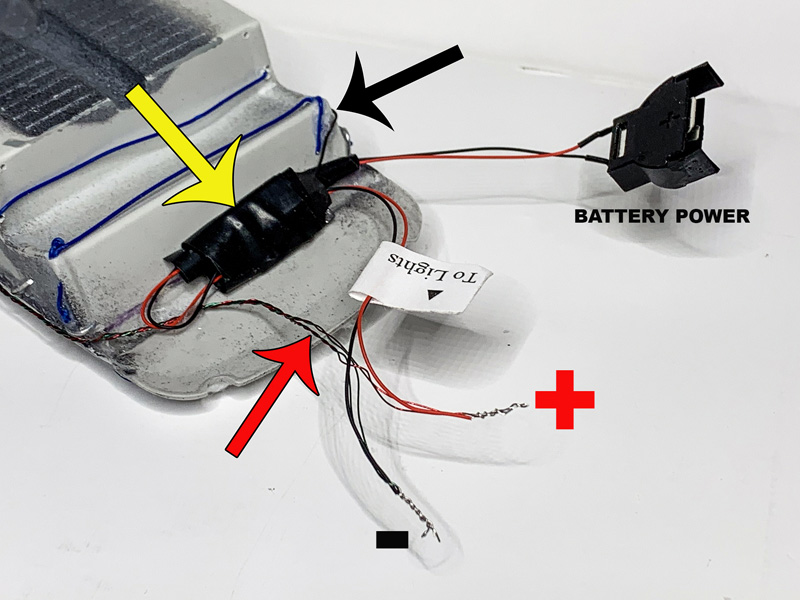 |
| Here you can see where I've twisted the dashboard postive and negative (red arrow) onto the power source wires. |
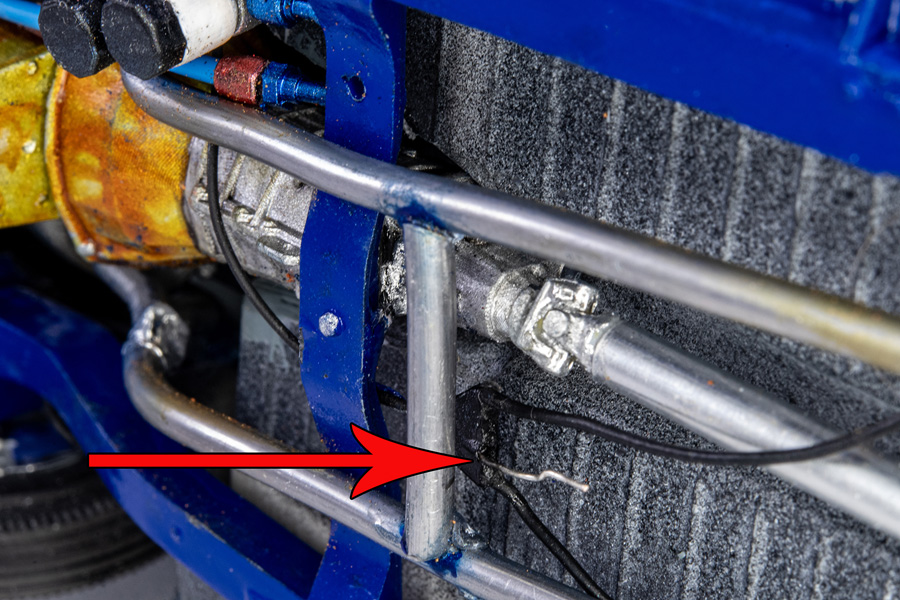 |
| I made a solid "Y" shaped block from scrap plastic. Drilled down the center for the on/off wire (red arrow). Than drilled the two sides for the e-brake cables that come from each back brake. |
 |
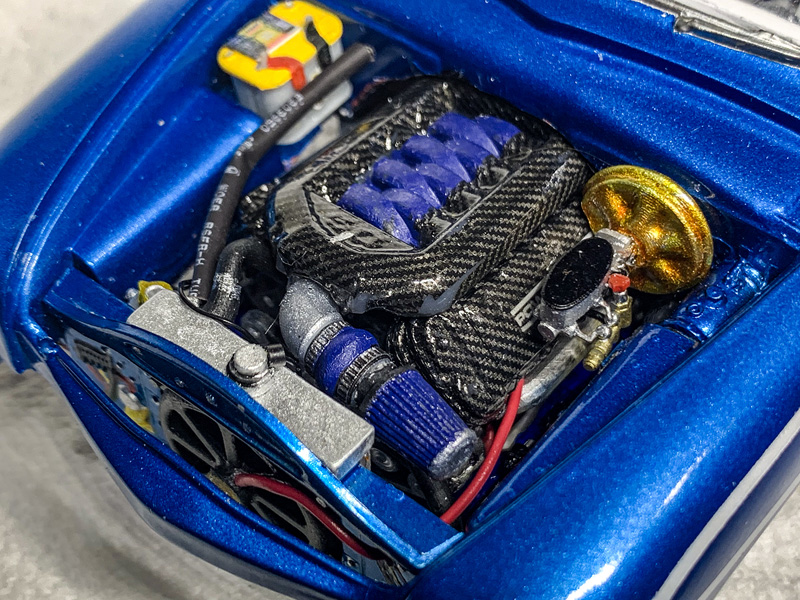
| With the interior tub glued into the body we can now just the head/tailight wires onto the power source. |
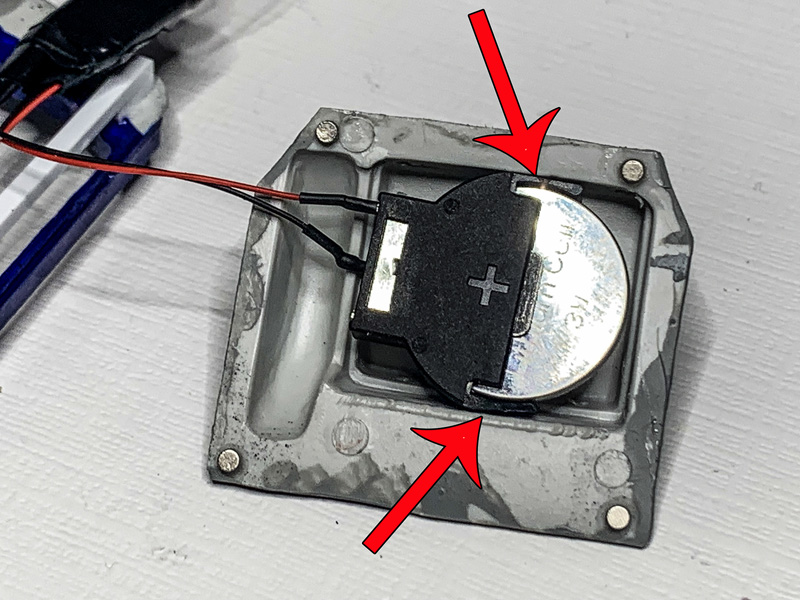 |
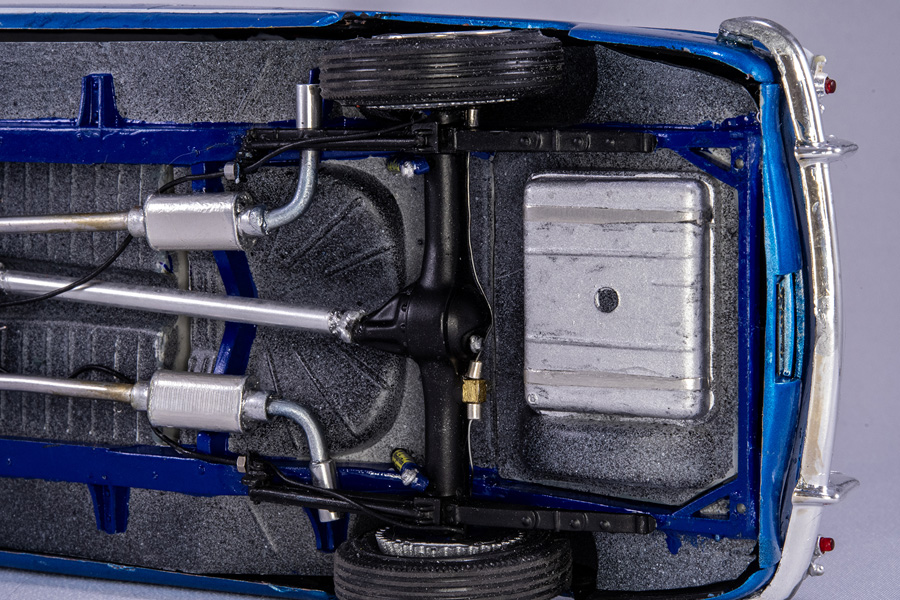
| With the battery in it's holder I trimmed the case to fit snug in the kits gas tank. |
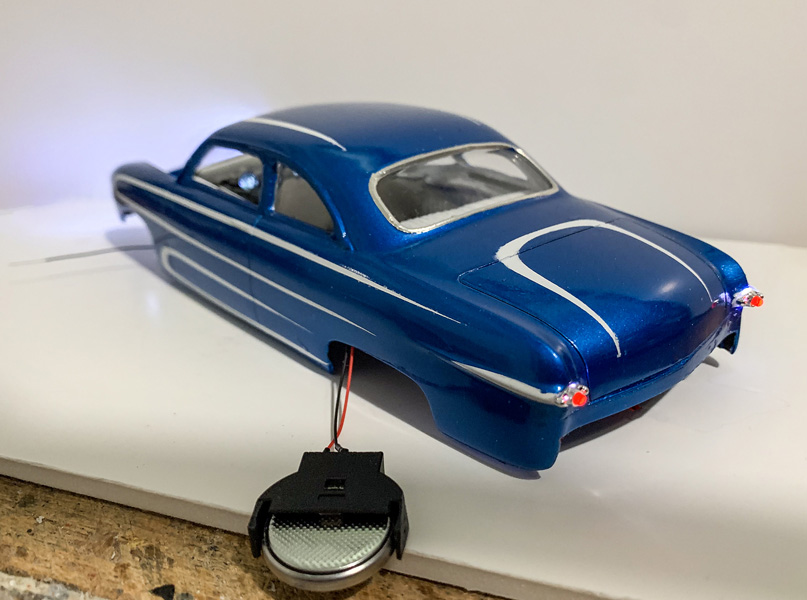 |
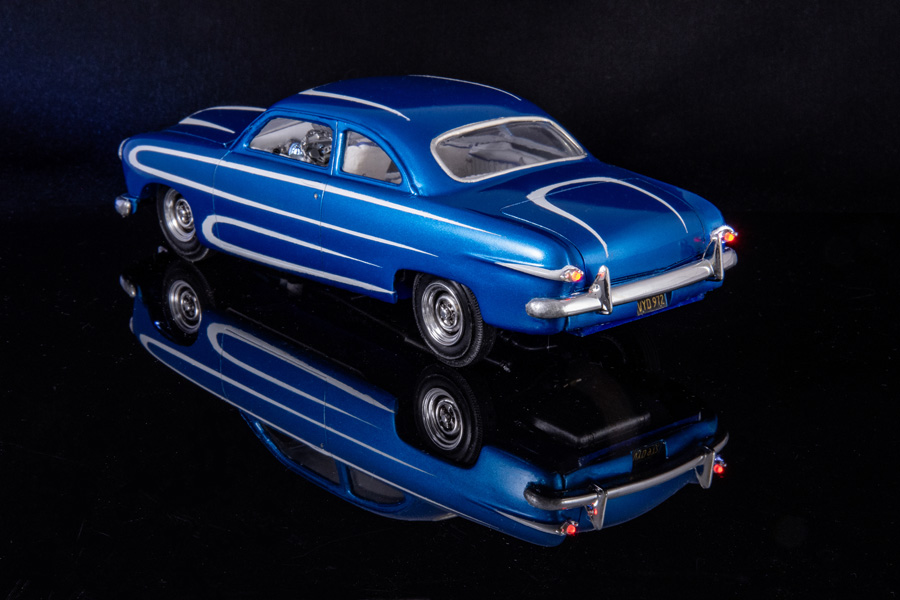
| A quick on and off test before I mate the chassis and body for the last time! |
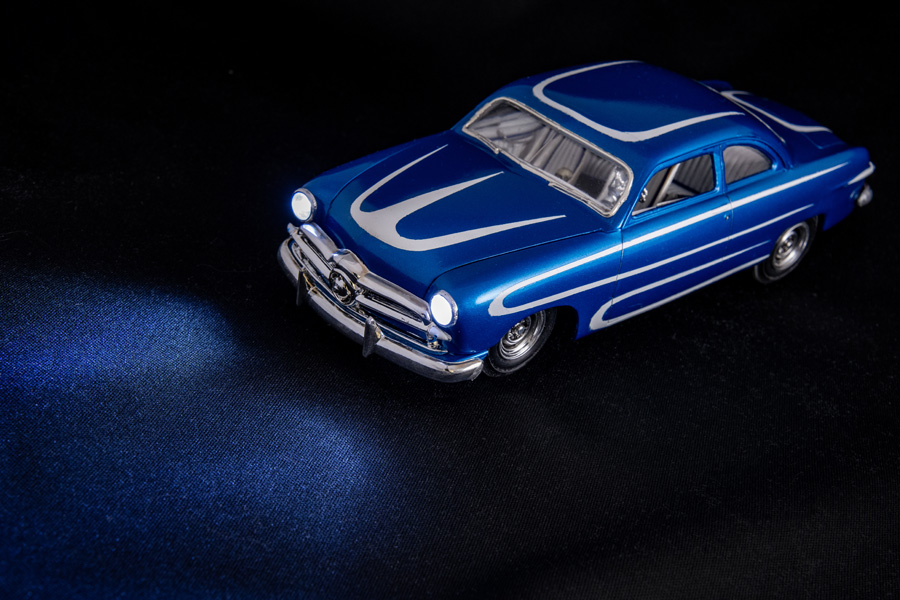 |
| It works great and adds a ton of realism to your project! |
 |
 |
 |
 |
 |
|